Sunday, 19 January 2014

repurposing


my Dad is a retired builder who did his apprenticeship at a local cabinetmakers.  i am lucky that he is creative loves to work with his hands, otherwise my old and tired TV unit (which has served me well for many years)

would never have had the chance to be reborn as a pair of gorgeous display units...
and a set of drawers that has been in my family since my dad was a child would still be languishing in my shed - and it would still be painted pink with patches of green showing through!!  Instead, my handy Dad has spent time stripping and restoring this set of family drawers to their former glory

 they now sit in pride of place under my new TV
just look at the gorgeous wood that was hiding under all that paint!!

Sunday, 10 November 2013

little fish...


the little fish quilt was finished and has found its way to a new home...

i am particularly in love with the texture from the serpentine stitch that i used to quilt it...


my first time using a faux-piping in the binding.  another little detail that i love!!

along with a couple of cuddly companions made from the scraps for the new baby to play with...

gluten-free quick biscuits ... a recipe

and i return to my much neglected blog! work has kept me busy this year, and what little free time i have is often spent catching up on household tasks and recharging my batteries

this is one of my favorite biscuit recipes.  it holds a lot of fond memories for me as the first time i baked them it was at an orientation day before i started secondary school, i also met one of my best friends that day.

i have since developed a gluten-intolerance so swapped regular flour for a gluten-free blend, i also reduced the sugar content slightly and added gluten-free oats for texture

1 cup coconut
1 cup self-raising flour (either gluten-free blend or regular flour is fine)
3/4 cup sugar
130g melted butter (or margarine)
1 beaten egg
1/4 cup gluten-free oats
 optional:  for a bit of variety i have used cranberries, sultanas, dates, choc-chips instead of oats

* mix dry ingredients together
* add melted butter and beaten egg to the dry ingredients
* use a cookie scoop (or tablespoon) and place the biscuit mix onto a lined tray... remember to allow room for spreading
* bake at 180degC for 15-20 minutes or until biscuits are slightly browned.  check and rotate trays after 10 minutes
* remove the trays from the oven and allow the biscuits to cool on the tray.  once cooled they should be crispy on the outside and chewy in the middle... my idea of a perfect biscuit!
* makes 24


Saturday, 20 July 2013

quirky monster softie

a little boy i know has just turned 1, which gave me an excuse to spend some time at my sewing machine creating this little guy

what a lovely way to spend a wet and cold afternoon.  i used this tutorial to guide me


Sunday, 14 July 2013

kissing fish

a friend has commissioned me to make a quilt for her soon-to-be bub.  she has chosen some gorgeous fabric that makes me smile every time i see it and a sweet little pattern called "kissing fish" from Lee at Freshly Pieced (although i have slightly altered how i am constructing the blocks to make them less fiddly to sew)

my progress so far; all of the blocks are done...
 next step is to get them up on my design wall and play!!


Thursday, 20 June 2013

embroidery hoop art

a new wall display for my sewing room, made from some old embroidery hoops, some scrap fabrics and buttons...


i LOVE it!!

Sunday, 9 June 2013

a sunny day in my winter garden

well, my sewing room is renovated and starting to look gorgeous but for the moment my interests have been diverted by a large pile of books and my garden!

it is a lovely sunny day here (despite being only 14degC !) so i thought i take advantage of the weather and spend some time updating things...

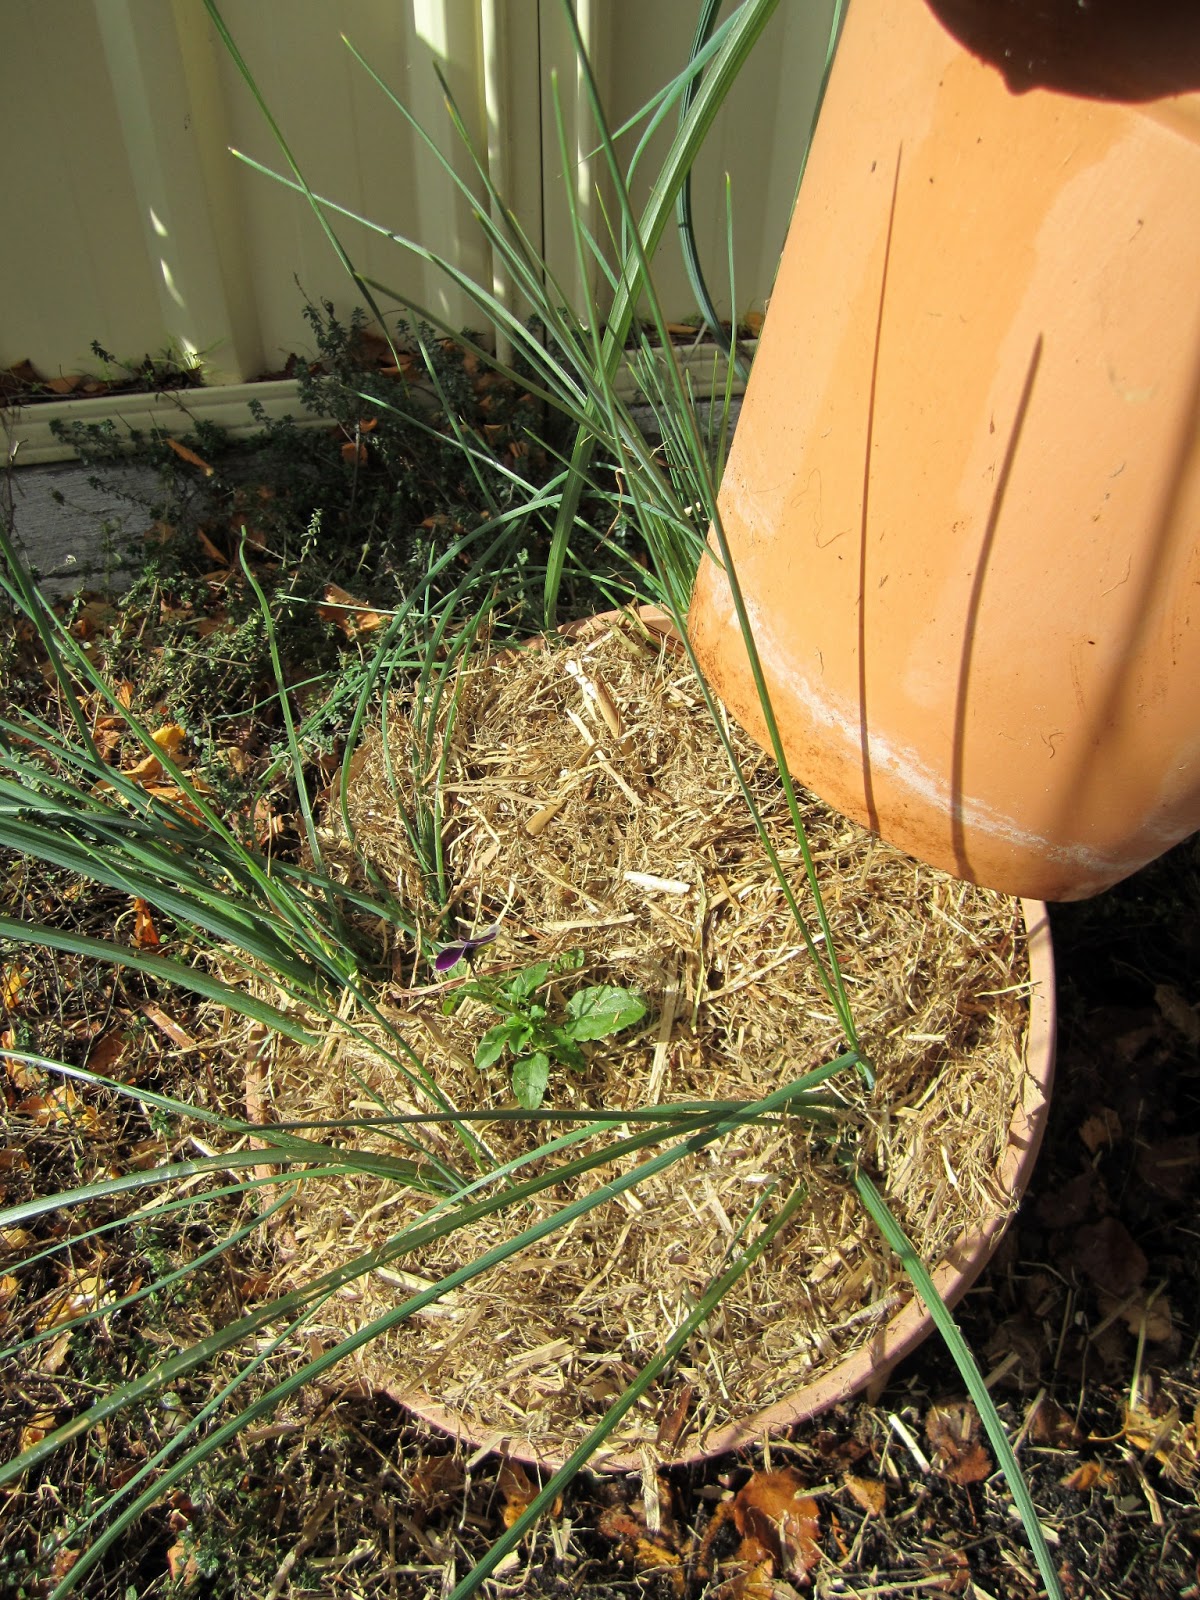
a cute stack of pots, planted with dutch irises and violas (i got the idea from here)


and a new garden arch to grow some sweet peas on - i am looking forward to having a scented arch to walk under in a couple of months time...
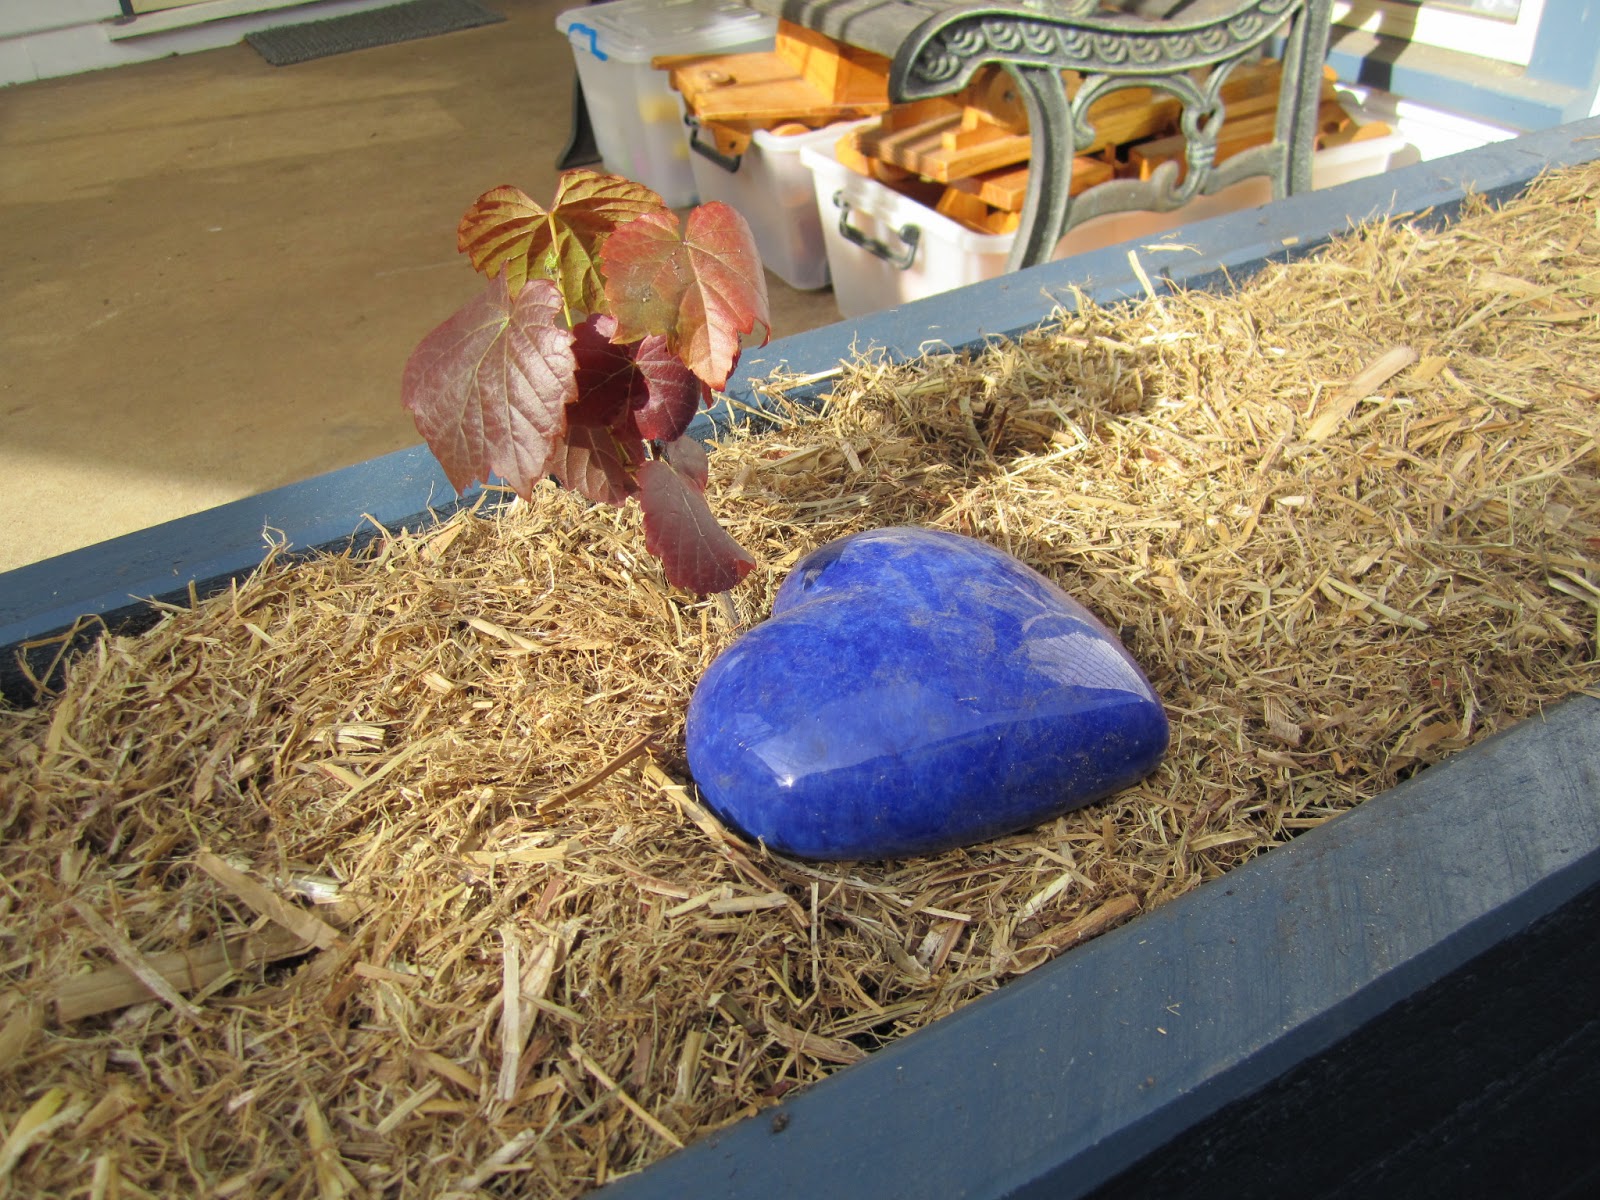
my dad built me a planter box to replace the tatty pots on my verandah - i planted it with an ornamental grape vine, dutch irises, species gladioli, white crocus and silver dichondra

the other pot on my verandah got a freshen up too
there are a couple of other areas in the garden that need a freshen up too, so i am hoping my motivation sticks around for a bit longer!!


Monday, 18 March 2013

hellooooooooo


hi everyone, long time, no post!  life has been crazy busy, sadly not much sewing but way too many hours at work and some house renovations haven't left me much time to be creative.

i did manage to take a short holiday and attend Grampians Textures, i was lucky enough to be able to do the 4 day bag making workshop with Nicole Mallalieu (the genius behind You Sew Girl).  i picked up some great tips and techniques for designing and making bags that look professional (handmade as opposed to homemade).  thanks to Nicole i think i have finally conquered my fear of zippers!

a couple of photos of the bag that i designed, drafted the pattern for then made (just a couple of little things to finish off and it will be ready to use)...


wishing everyone a slightly belated happy st. patricks day (and happy birthday to me!)

 3blessing3.gif

Tuesday, 8 January 2013

selvedge madness at the art gallery


my quilting group holds an exhibition every second year and we are very lucky that our local art gallery hosts the exhibition - we choose a theme, then make the quilts and drop them off at the art gallery.  the curator then decides which quilts will go in the exhibition, hangs them beautifully and does all the necessary signage.  this year the exhibition has gone for around a month, from mid December to mid January, and from all accounts it has been very popular

our theme was "from scraps to heirlooms", a nod to the origins of quilts.

i had my quilt in planning and was working on it in the 12 months leading up to the exhibition... but being the procrastinator that i am, i finished burying the last of the threads in my selvedge quilt the evening before i had to drop it off at our local art gallery!

i cant tell you how excited i am to have my quilt hanging in an art gallery! i took this photo on my phone...

the quilt is actually quite bright in person and there are a lot more selvedges on the back of it, but obviously i cant get a photo of the back until the exhibition is finished.  i will post more photos when it get my quilt back.

i plan on hanging it in my newly redecorated sewing room, and call me crazy but i think i am going to do a lot more selvedge projects to go in there... recovering my computer chair, recovering my sewing chair, a new ironing board cover and probably some curtains!

Sunday, 30 December 2012

2012 new years eve mystery quilt


yippee its new years eve mystery quilt time again!!  i am doing one from Delaware quilts.

my fabric is chosen - a variety of pinks, the finished quilt will hopefully be used to raise funds for breast cancer research...

the strips are cut...


and i am ready to sew when the rest of the clues are posted!

quick strippie quilt

one of my last minute sewing projects this christmas was a quick strippie quilt (a free pattern from Mary quilts), i made it as a gift for a friend's daughter... i LOVE the fabrics and it is so quick to whip up a quilt using this pattern!  (edited to add - my friend and her daughter LOVE the quilt too!!)

my dad was kind enough to hold it while i snapped some photos (dont you love his socks!)...

FRONT

the back was pieced together using left-overs from making the front, and i added the pink at the top/bottom so that it would be big enough

BACK

and a close up that shows the gorgeous owl print (fabrics were from spotlight and must have been printed for them because the selvedges didn't have much info from the manufacturer)

i used 1m of each of the owl print, stripey fabric and blue floral fabric, then added approx 1/2m of the pink fabric.

i used hobbs heirloom fusible wadding (it only fuses temporarily so the finished quilt is nice and soft) to minimise pinning and save time (i still like to put a couple of pins along the edges) and then quilt using a variegated thread, my open-toe walking foot and a snake/curve stitch on each seamline

unfortunately my walking foot broke mid-way through the quilting process, but i am very lucky that my mum lives 5mins away from me and she had a walking foot that i could use to finish the quilt

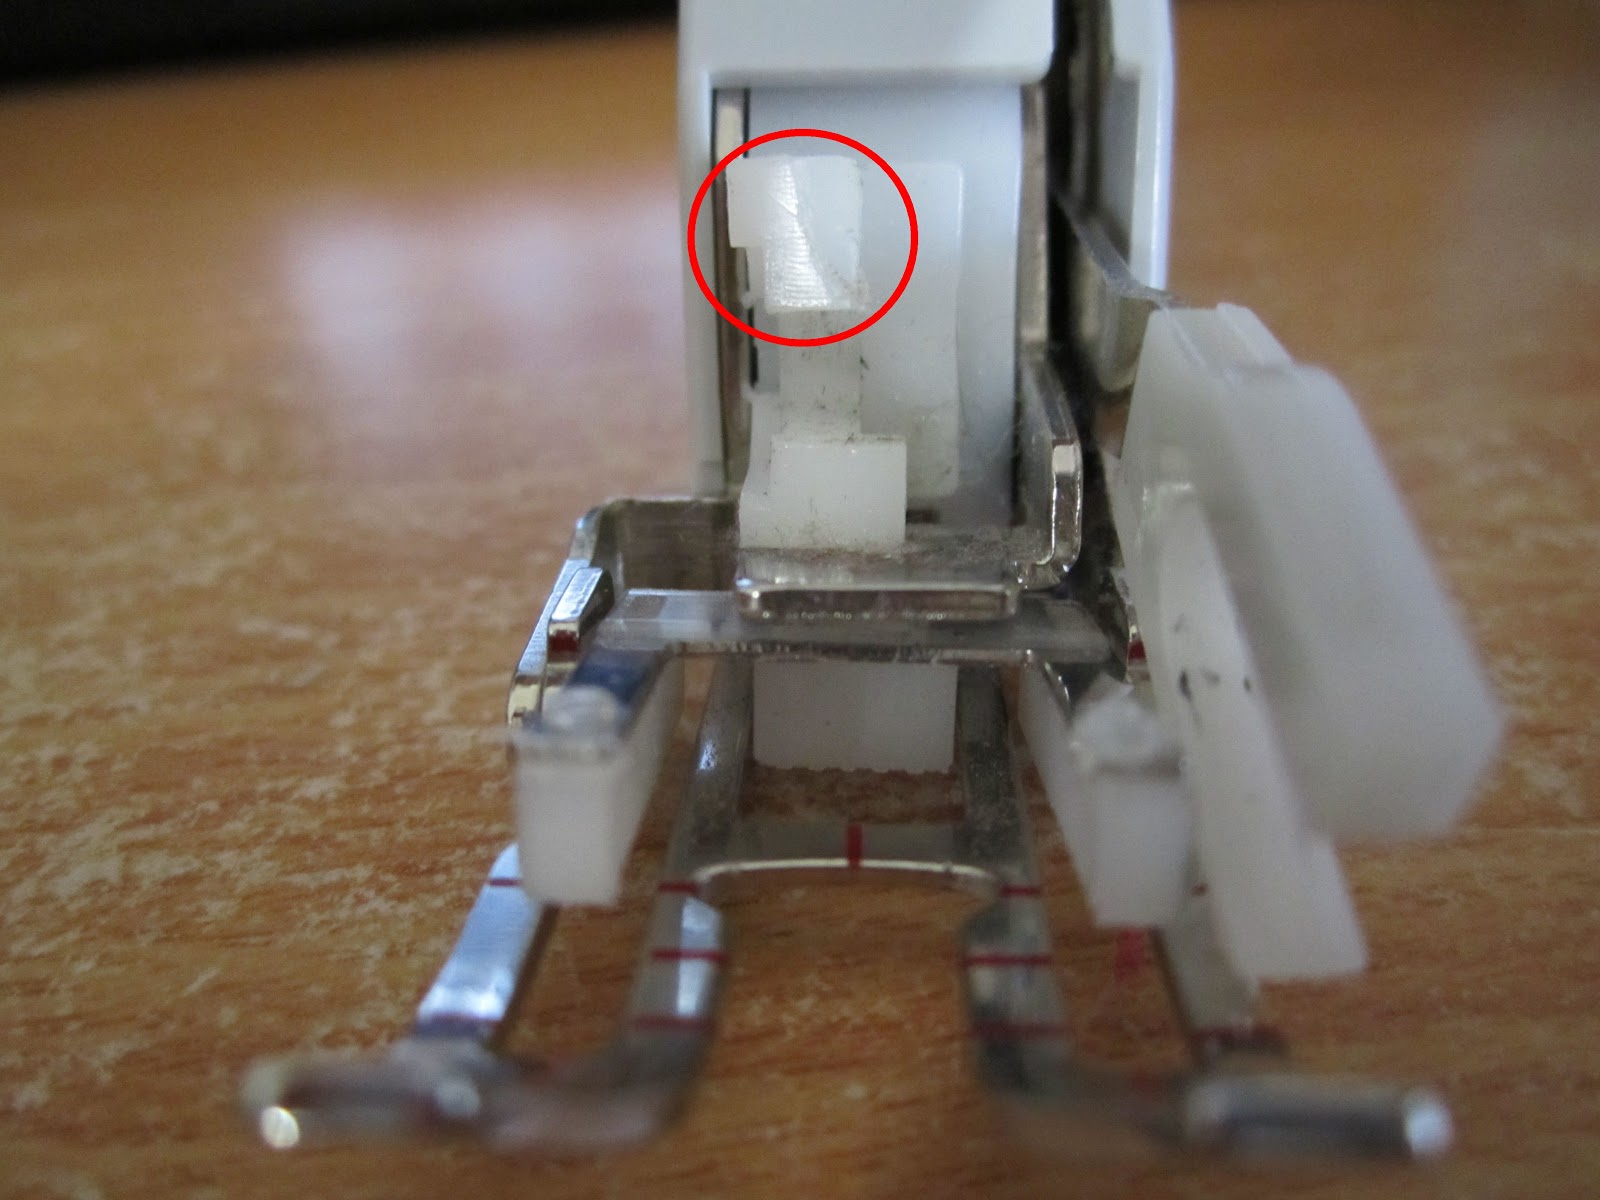
see the 2 white brackets that hold the foot to the machine?  the top one snapped off (circled in red), the foot moved out of alignment, then broke the needle and caused the machine to shudder around and make all sorts of horrible noises.  thankfully, it doesn't seem to have caused any damage to the machine.

Tuesday, 25 December 2012

it's christmas day...


 2jolly-xmas.gif

merry christmas everyone, i hope the festive season is full of cheer and the year ahead is a joyful one xxx

Saturday, 22 December 2012

christmas tree skirt - tutorial - part 3 (let's get sewing!!)

photos of the tree skirt are here
christmas tree skirt - tutorial - part 1 can be found here
christmas tree skirt - tutorial - part 2 is here

woo hoo, it's time to start cutting!

you will need to cut 12 wedges of fabric for the top of the skirt and another 12 wedges from the back (i managed to get all 24 of my wedges cut from 6 fat quarters of fabric).

if you are cutting from fat 1/8ths, you should be able to fit 2 wedges on (see photo).  this method would also allow you to cut 4 wedges from a fat 1/4 of fabric (fold the fat 1/4 in half before cutting)
if you are cutting from a strip of non-directional fabric you will be able to cut your wedges as shown in the photo below, continue to alternate the direction of your wedges as you work your way across the strip of fabric
you may choose to trace around your template and them use scissors to cut the wedges out, or you may choose to do what i did and use your rotary cutter, ruler and the template.  i simply placed the template on the fabric, lined my ruler up with the straight edge and cut with my rotary cutter.  once i had cut both sides, i traced the curve and tip with my pencil then cut them out using scissors.
once all of your wedges have been cut, you will need to sew them into pairs using a 1/4" seam...
then into fours...
then sixes...

then sew ONE seam that will join the 2 halves of your tree skirt.  remember to leave the other seam open, this will allow you to put the skirt around your tree.  now repeat the process for the back of your tree skirt.
now we get to decorate the top of the tree skirt.  audition your trim options and decide which one you like best.  i have decided to use 2 trims and alternate them around the skirt (remember that you wont need trim on the open edges of the skirt)
if you want to make your own seam covering strips, you will need to cut eleven 3/4"  strips (on the straight grain) from the fabric that you heavily starched earlier.  then you will need to thread a strip into your 9mm bias tape maker (you may need to use a pin to help you), making sure that your fabric is the correct way up
 flip your bias maker over and use a fork pin to hold the beginning in place
use your iron to push the bias tape maker along until you reach the end of your strip (this means that your fingers will be well away from the hot iron and minimises your chances of getting a burnt finger!).  repeat for the other 10 strips
i used my karisma glue pen to hold the trim in place, but you may choose to thread baste your trim on.  DO NOT stitch it permanently in place yet, we will stitch it on after the top of the tree skirt is stitched to the back and turned the right way out - this will quilt the layers together and provide stability.

pin your ties/ribbons in place along the open edge of the tree skirt, also make sure that you have pinned the loose ends well away from the seam lines... you wouldn't want to accidentally stitch them in!


carefully pin the top of your tree skirt to the back and stitch around all of the edges using a 1/4" seam - remember to leave an opening so you can turn it in the right way.

turn your tree skirt in the right way, press it well and top-stitch around the edges.  now is the time to stitch the seam coverings in place - i used a zig-zag on my first tree skirt, but chose to use a straight stitch on this skirt.  at this point you may also decide to add some trim around the outside edge of your tree skirt

and you are all DONE... place your skirt under the tree, tie the ribbons and admire your work!